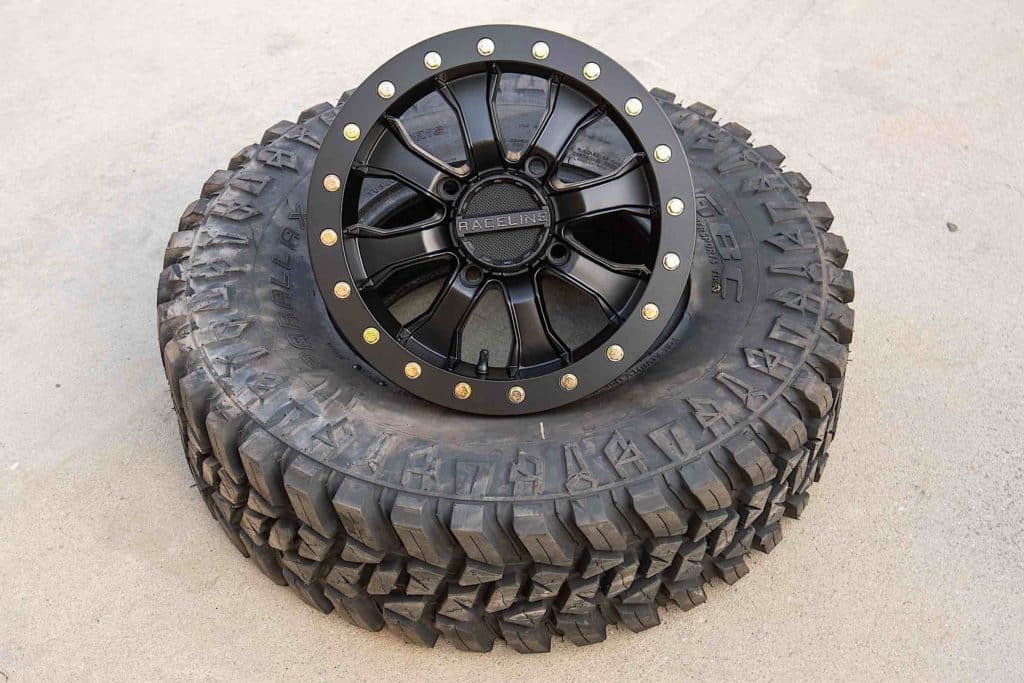
Everyone wants them until you have to put them together. Beadlock wheels are a staple in off-roading, no matter if you are in a rock crawler, prerunner, or side-by-side; they can be found everywhere in the dirt.
They look great, but beadlock wheels also provide added durability off-road. As the name suggests, beadlock wheels lock or pinch the outside bead of the tire to keep it attached in off-road applications and while running a low tire pressure.

To ensure beadlock wheels provide their benefit, you need to take care when installing them. Beadlock wheels can be installed in the garage with simple hand tools.
Getting started, it helps to have a rug or blanket under the wheel on a flat surface so that your new wheels don’t get scratched or damaged. Remove the beadlock ring if it came attached to the wheel from the manufacturer.
Getting the tire on the wheel isn’t as bad as it sounds, but you need to check the tires before sliding them on. Some tires have an inside and outside tread or directional tread, determining how to place them on the wheel.
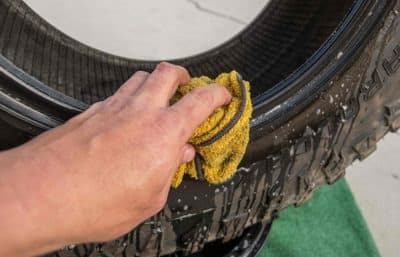
With the inside tire bead figured out, it is time to lube the bead. Soap, water, and a rag are all you need. The more soap, the better.

Once lubed up, place the tire on the wheel at an angle, and slide it over the outer lip onto the wheel. Take care to ensure the outside bead sits properly on the beadlock flange before you place the ring on it.
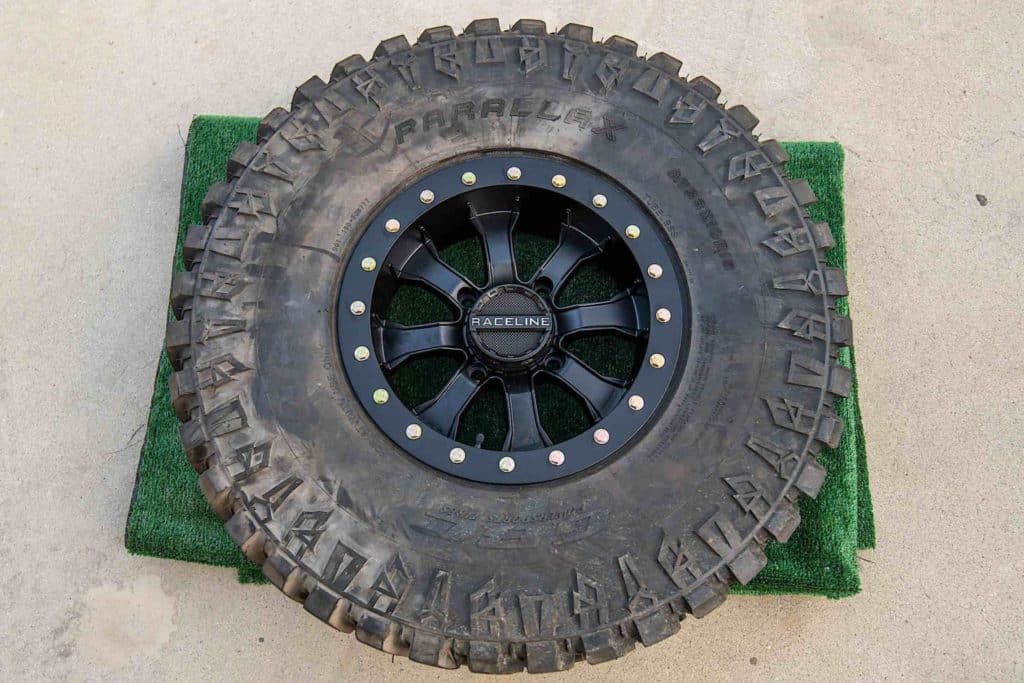
The beadlock ring can be placed on top of the tire, and then you can start to place the bolts. Apply anti-seize to the bolts before you thread them in to allow easy removal when the time comes. Beadlock wheels see a mixture of water and dirt, and the anti-seize helps the bolts from seizing when being removed.
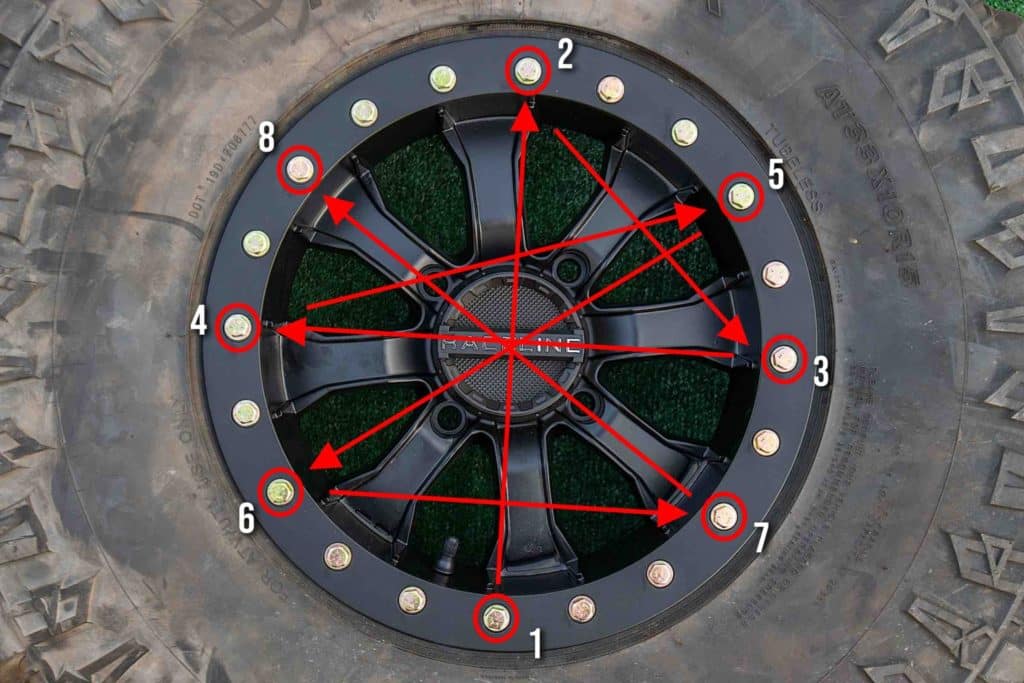
Always use a star pattern as you place the bolts in the ring. The star pattern helps the ring go on evenly. Using the valve stem or the spokes on the wheel makes it easier to remember what bolts need to be tightened.
Resist the urge to use an impact gun to tighten the bolts. The bolts need to be torqued appropriately, and that can’t happen with an impact and some ugga duggas.
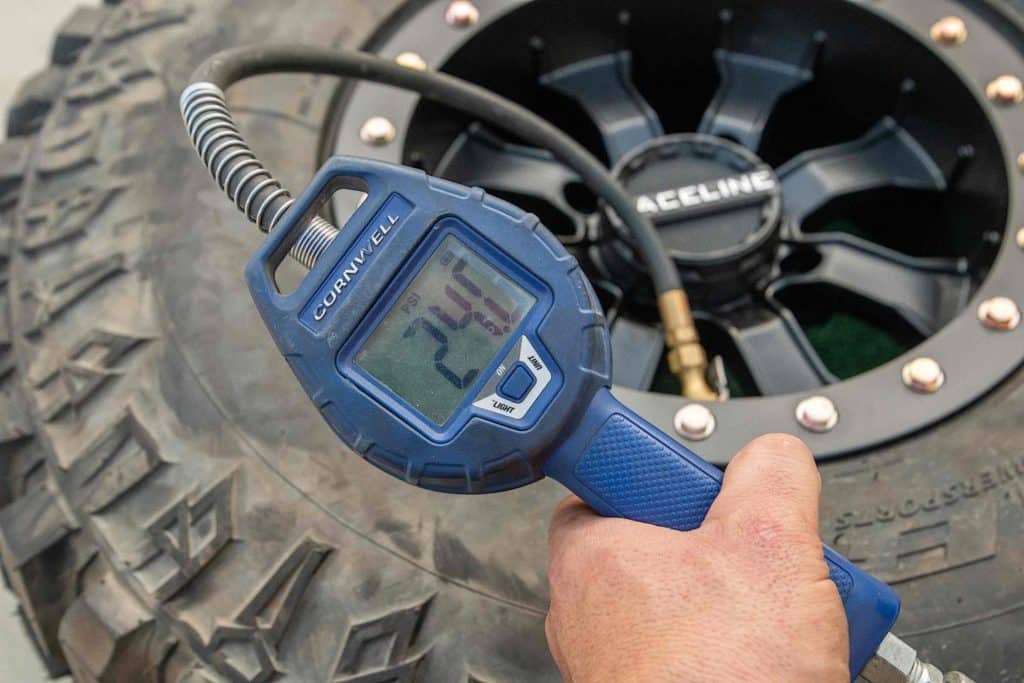
Wheel torque specs can vary from manufacturer, but they are usually around 16 to 18 foot-pounds of torque for truck wheels and 12 to 14 foot-pounds of torque for UTV wheels. Each bolt needs to be checked three times using the star pattern to make sure the beadlock ring is seated correctly.
Airing up the tire is the last step and can be done with an air chuck. If you hear the tire leaking out the back when putting in air, pushing the wheel helps set the back bead. Take caution to make sure nothing is in the bead because it can cause serious injury when it sets.
Depending on the vehicle setup, the process only needs to be done three, four, or more times. With the wheels on, it is time to hit the dirt and have some fun!