During a time where everyone is on lockdown or if your state is lucky enough to be easing up restrictions, there are plenty of things that can be done to your UTV. Holley and its XDR brand to find parts that could be easily installed in the garage during these uneasy times.
Being able to upgrade your vehicle will give you a feeling of accomplishment from the usual binge-watching the latest Netflix series. Not only will it do that, but it will also improve your mood but your side-by-side for the next time in the dirt.
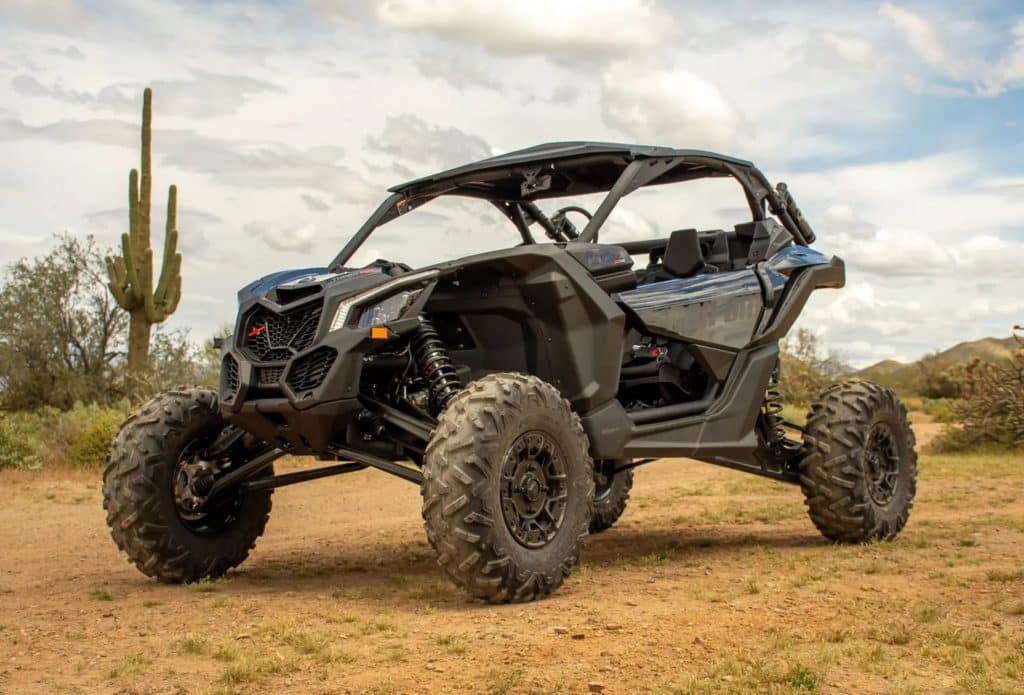
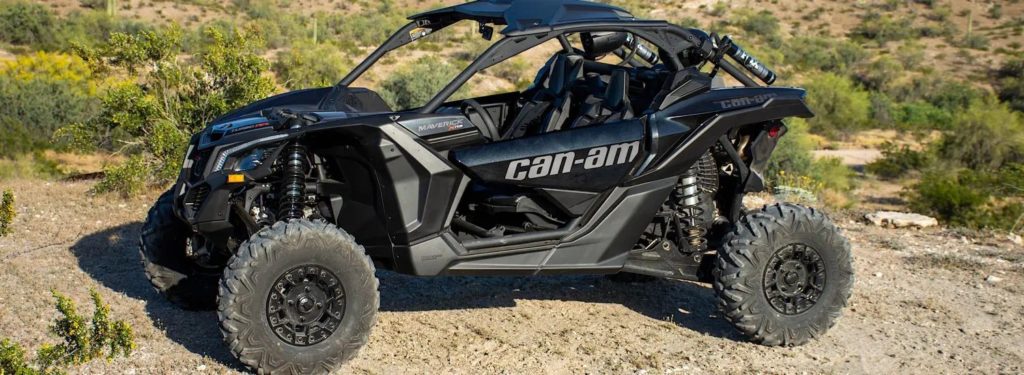
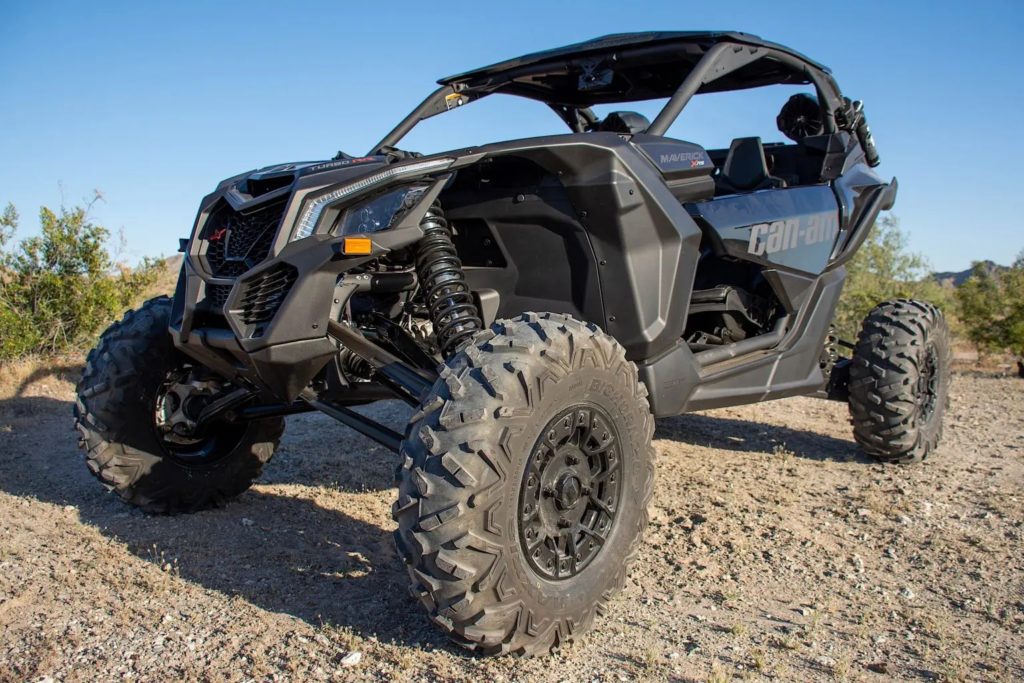
There are a lot of parts on the market that are more involved than an average DIYer can handle. We looked to upgrade our 2020 Can-Am Maverick X3 RS Turbo RR while stuck at home, but at least still able to utilize the garage.
We would be installing five parts that would improve the look and function of the X3. To select the right parts we reached out to Holley and spoke with Steve Sparkman to make sure we had parts that had a simple install and would improve performance.
XDR OFF-ROAD BLACK SHIFT KNOB (PN 81172)
To start off with something super simple that even a high schooler could install was XDR’s off-road black shift knob. This isn’t a performance part, but it is definitely a part that would improve the look of the interior.
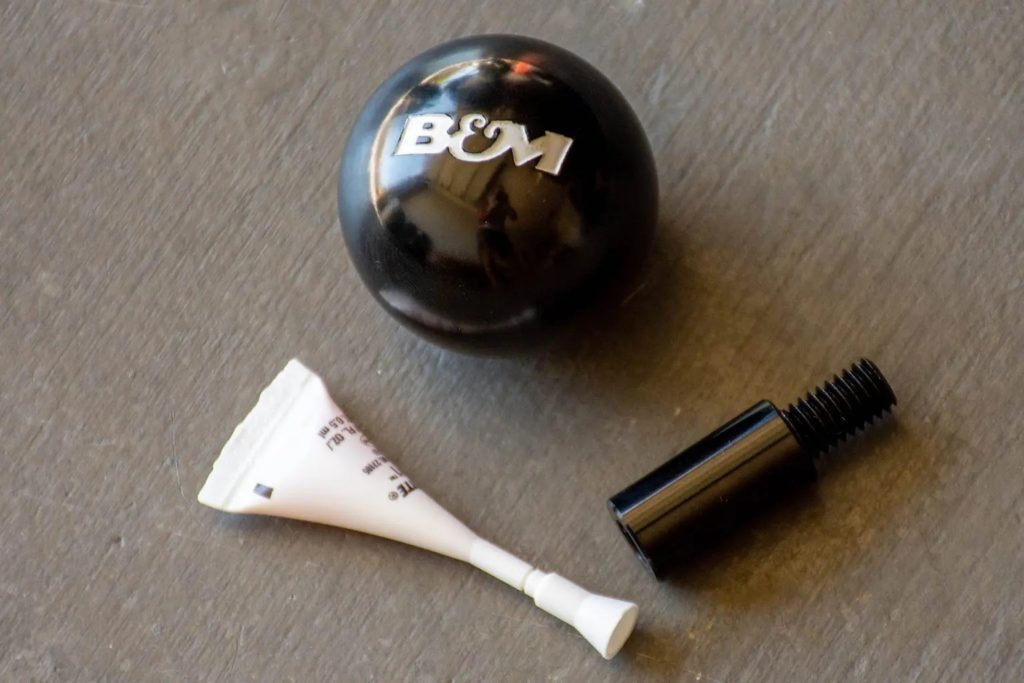
“The black shift knob has a great ergonomic fit and feel,” Sparkman said. “It also adds a performance look to the interior.”
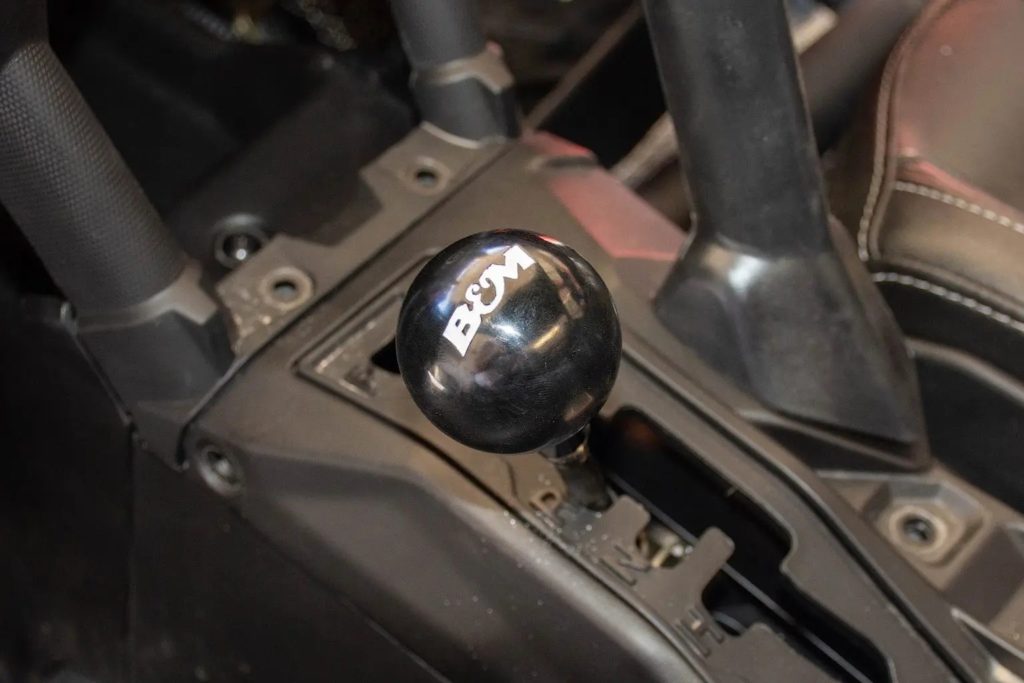
The install was super simple and easy. All that needs to be done is loosening the jam nut below the factory shifter as well as the shifter knob. With that done the XDR shift knob can be threaded on with along with the supplied thread lock.
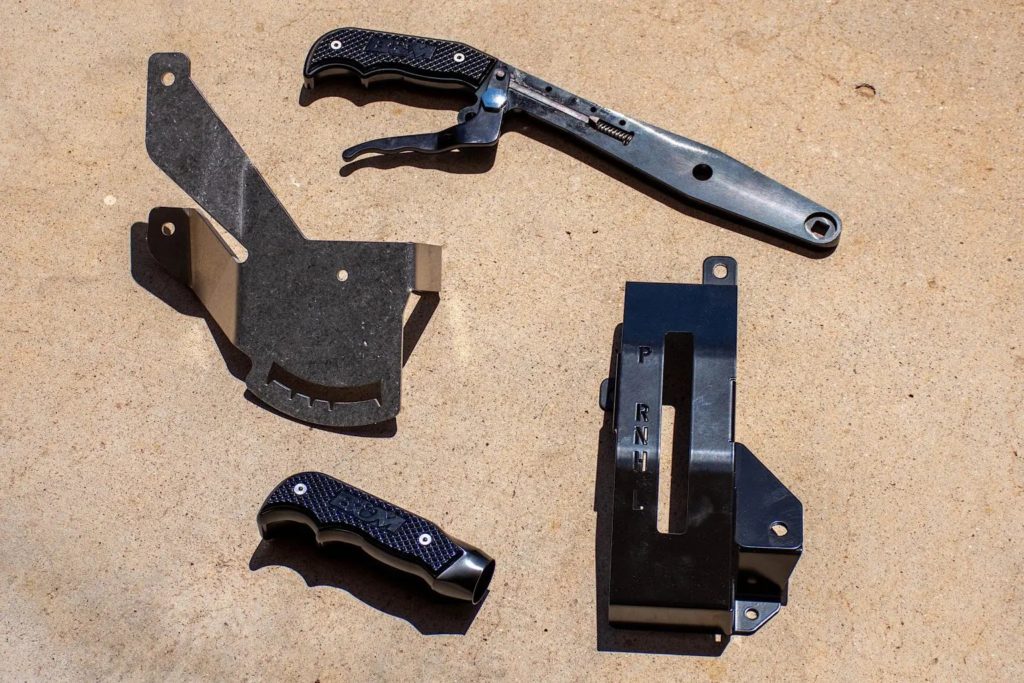
XDR OFF-ROAD MAGNUM GRIP GATED SHIFTER & GRAB HANDLE (PN 81149)
The black shift knob is a great visual improvement, but we wanted to add something that would give us a more functional addition. Installing the XDR off-road magnum grip gated shifter was exactly what we were looking for.
Taking our experience from driving a vehicle with a column shifter off-road, this part was a must. Being able to be securing in gear and not need to worry about accidentally bumping the shifter out of gear prevents being in a forward gear and bumping into a neutral or reverse gear.
“The gate shifter also has an ergonomic fit and feel like the black shift knob but adds a modern aggressive look, positive locking and unlocking between gears,” Sparkman explained. “It also has a security lock feature which allows you to use a standard padlock to lock in the park position.”
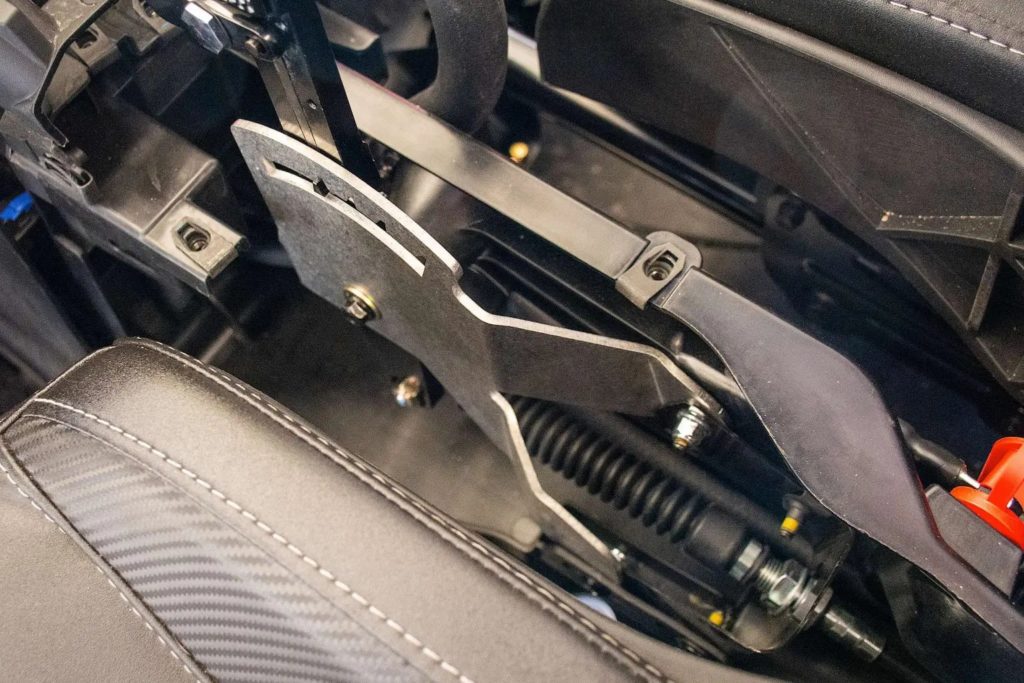
This was definitely a more involved and in-depth install than the black shift knob, but the benefits made it worthwhile. The entire center console needed to be removed to allow access to the factory shifter.
Large hands make the install a little more difficult to reach into the tight areas but makes for a great father-son project. Some of the nuts and bolts are reused, so be sure not to toss everything that is taken off.
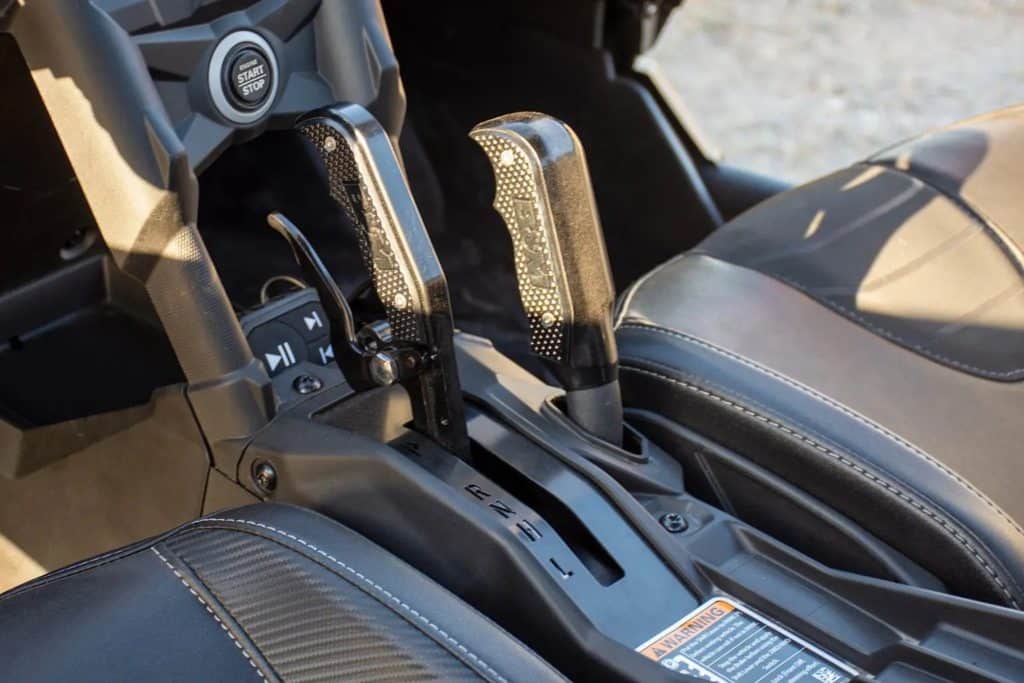
The shifter kit also comes with a new grab handle that features the same style as the shifter. The grab handle appearance is a huge upgrade from the factory handle.
For us, once we got the gate shifter installed the hardest part of the install was adjusting the shift cable. Adjusting it is not a difficult task, but one that needs to be properly to make sure that each gear engages correctly.
XDR OFF-ROAD BLOW-OFF VALVE (PN 615903)
Hearing the sound of a blow-off valve from any type of vehicle is just fun to hear. Most people do not know the actual reason that they are installed let alone how they work.
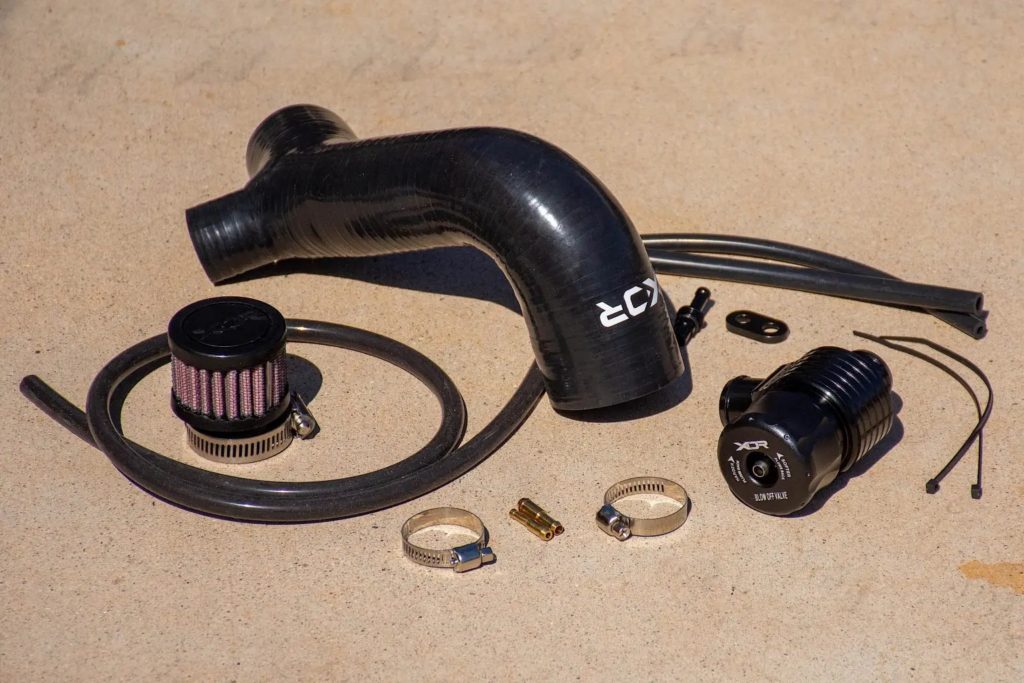
“The factory configuration does not include a diverter or blow off the system, and this easy to install kit integrates an external blow-off valve which vents the excess boost pressure into the atmosphere,” Sparkman explained. This eliminates compressor surge and the related strain on the turbocharger and also creates that turbo swoosh.”
“The pressure release point is adjustable via a knob on the top so you can either extend how much of the release of non-used air or aka ‘the swoosh sound,’” Sparkman continued. “Or you can tune it to be a quick short burst of air.”
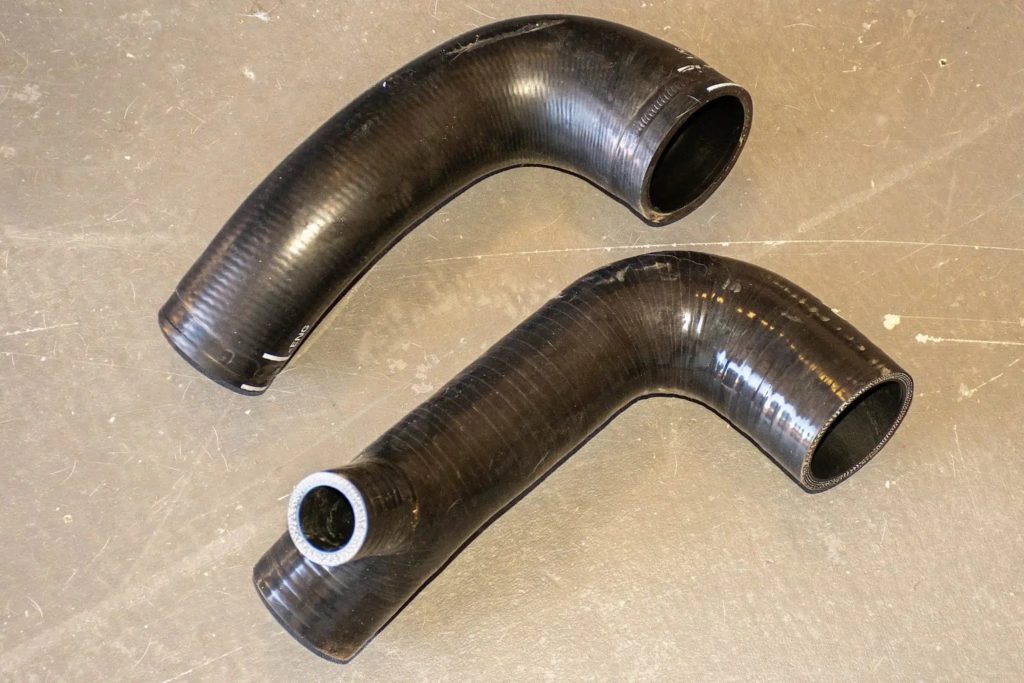
Installing the XDR part on the Can-Am was made easy with the removable panel between the two seats. Having the panel off allows for the ability to access the hose that needs to be replaced and to access the knob for adjustment.
For us, removing the tube was easier than getting the new tube in. There is not a lot of room to access the bottom of the intercooler to push on the hose. Removing the intercooler was just am extra four bolts, but it made the install a lot easier after struggling for some time before.
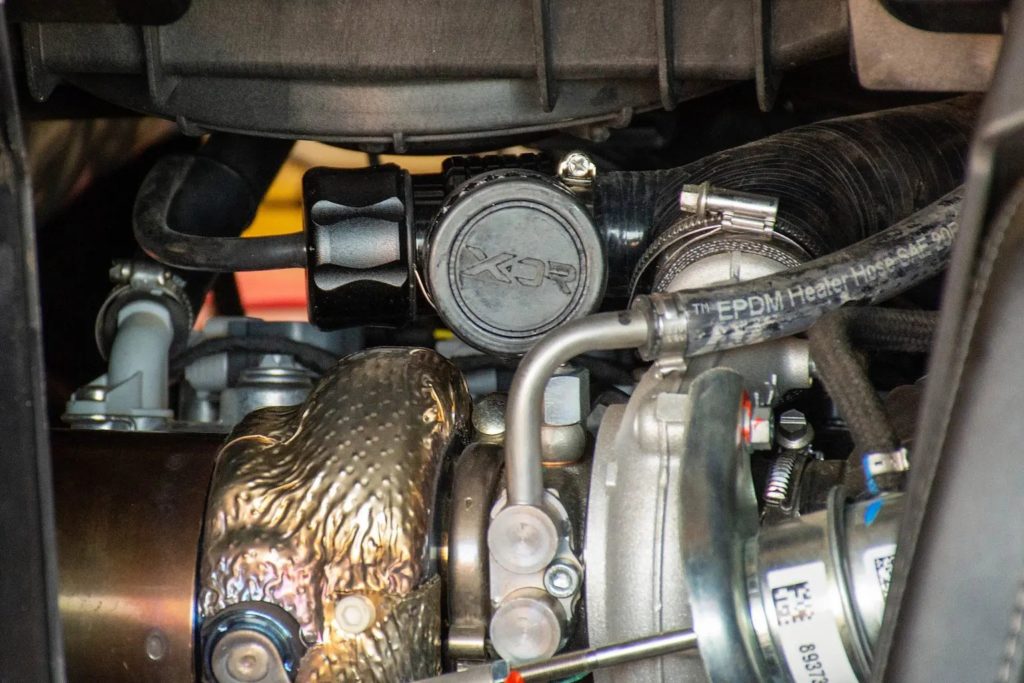
The adjustment of the valve had to be done manually. The valve should stay closed as you idle and as you accelerate. It should only open as you take your foot off the gas pedal to decelerate. Test valve at its softest adjustment and listen for it to open during deceleration. If it doesn’t respond appropriately it one turn and test it again. Repeat this until it responds correctly.
XDR OFF-ROAD PERFORMANCE EXHAUST (PN 7204)
One part that we were probably the most excited to install had to be the XDR off-road performance exhaust. Regardless of what an exhaust is installed there is an immediate, noticeable difference upon completion.
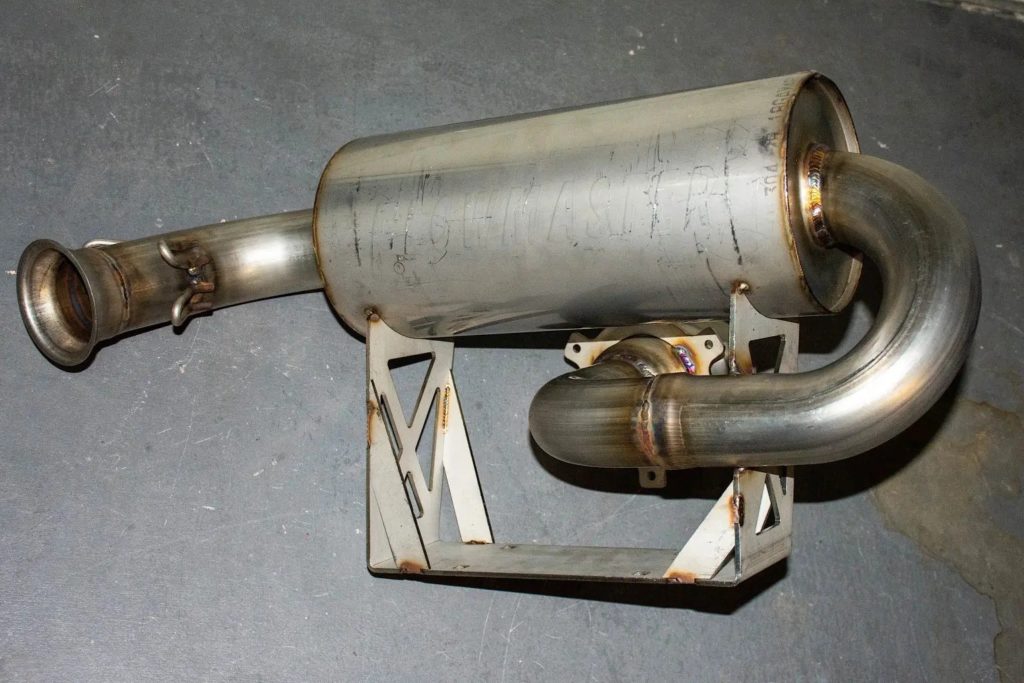
“The XDR performance exhaust has a TIG-welded 304S stainless steel construction with a larger 2.5-inch mandrel-bent tubing that helps the exhaust flow out fast and more efficiently,” Sparkman said. “It also will help reduced heat, increase horsepower, and torque.”
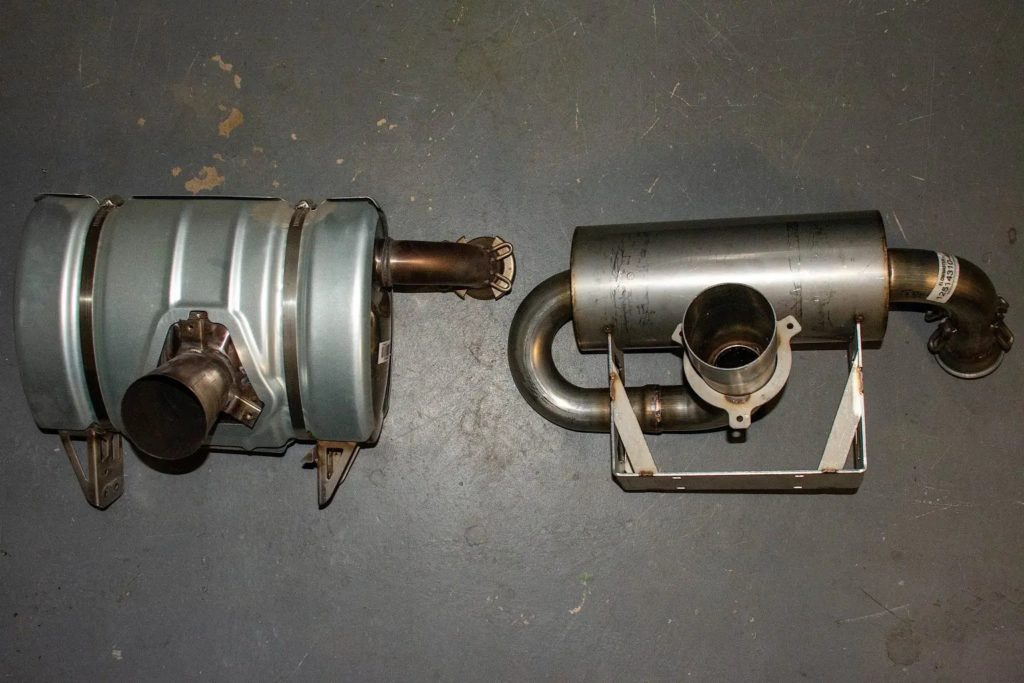
The install was straightforward and not that difficult. Removing the factory panel and exhaust was not that difficult until it came to removing the springs that held the exhaust to the factory flared inlet connection.

To remove the springs we used an old flat head screwdriver and bent it into a hook. We would be able to reach in and hook the spring and pull it towards us to remove it. The tool was used to install the springs once the new exhaust was bolted down.
XDR OFF-ROAD DELTA BOOST TUNER MODULE (PN 18110)
Installing performance parts needs something to connect everything. The Delta boost tuner was exactly the part we needed. The tuner had a simple plug and play install, and allows the settings to be controlled from your smartphone via the Delta Boost app.
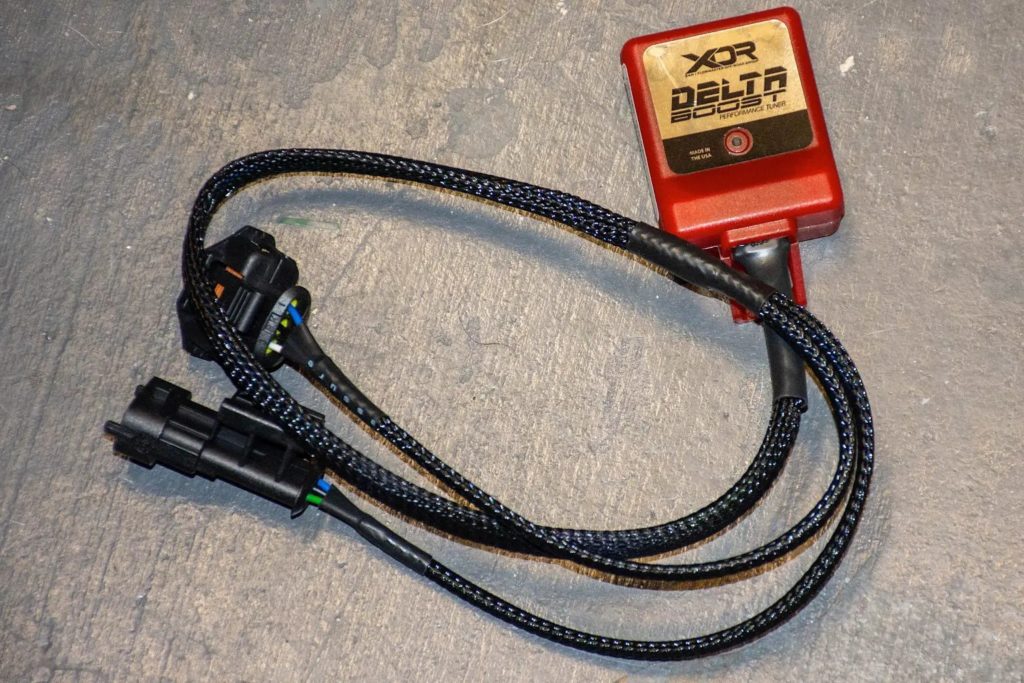
“The tuner allows you to have multiple modes,” Sparkman explained. “Valet mode is great when handing off the keys to a less experienced driver, Standard mode is the equivalent to the stock boost setting, Sport mode gains up to three psi over the stock boost setting and Max mode adds four psi over stock boost so you can shred the trail.”
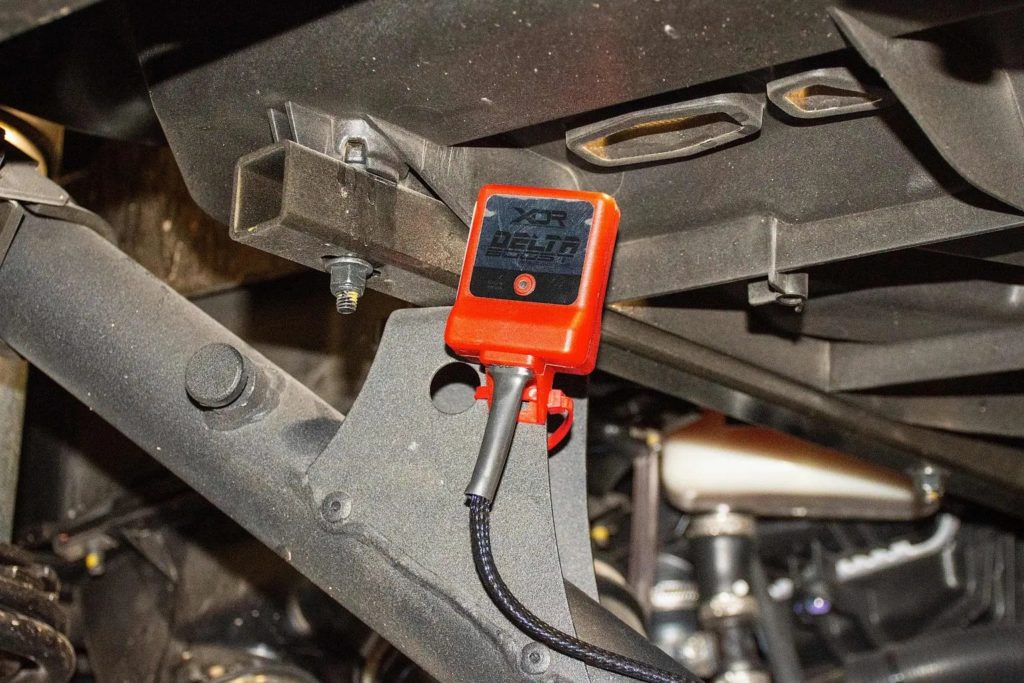
We headed to the back of the Can-Am to find the connector we need to unplug. The Delta tuner’s wiring harness allows you to add this inline. Plug on end in the vehicle side connector, then plug the wire that was removed from the same location into the other side of the Delta tuner’s wiring harness.
HEADING OUT TO THE DESERT
Having everything installed sitting in the garage made it difficult to walk out and not drive the Can-Am. We were able to find a place that we could take the X3 out and see how everything performed.
The gate shifter was a great addition that made us feel secure in whatever gear we need to be in. The blow-off valve gave us a nice performance sound to back the improved sound from the upgraded exhaust. The Delta boost tuner was great for added power, but reassuring when the keys were handed off to the kids to enjoy with reduced power.
Overall, we were impressed with how every part worked. The installs were simple, but the performance impressive and something that will be enjoyed every time the Can-Am Maverick X3 RS Turbo RR is taken out.
For more products and to find parts for you side-by-side, be sure to check out Holley’s website.